Scripting Tool #1 Quick Colour Temperature Lighting Tool
- Nstel Art

- May 13, 2016
- 3 min read
For a specialisation assignment piece i decided to dab into scripting. when i first started out learning Renderman i was struggling with getting used to the lighting and decided to work with colour temperature instead so I decided i would like to make a tool that automates the process for me when i create a new light.
The final result looks like this

Pretty simple but this was my first time using MEL script from scratch with little to no programming experience whatsoever. Each button would make a light that will have a different colour depending on what time of day you would like to work in based on colour temperature as shown below.

So heres how i made my first Colour Temp Lighting Tool, feel free to make this yourself as this is a step by step on how i made my first tool.
STEP 1: Making the Procedures

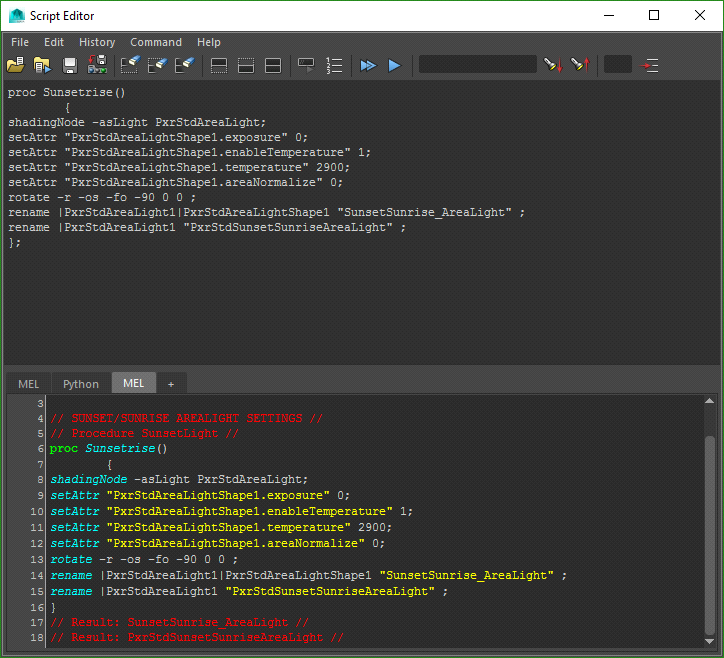
To find the right MEL command for the Renderman Light we first have to [Echo all commands] in the History tab of the script editor. After I selected Echo all commands I then instantly clicked on create GeoLight Renderman and found the MEL command to copy so I now need to change some settings. Clear the script history with echo all commands still on and enable Colour temperature of the light and change the colour temp to 2900. I will be creating sunset/sunrise first so that’s what I will also rename the node too.

So my code now looks something more like this. But I’ve also decided to change a few settings in the code now so I don’t have to do it later. Like Normalize, Rotation (as I personally like my lights shining down on the Y axis) and exposure. Using the same method as changing the settings first and saving the echoed commands I quickly was able to finish the first of the 5 procedures. Heres the final result;
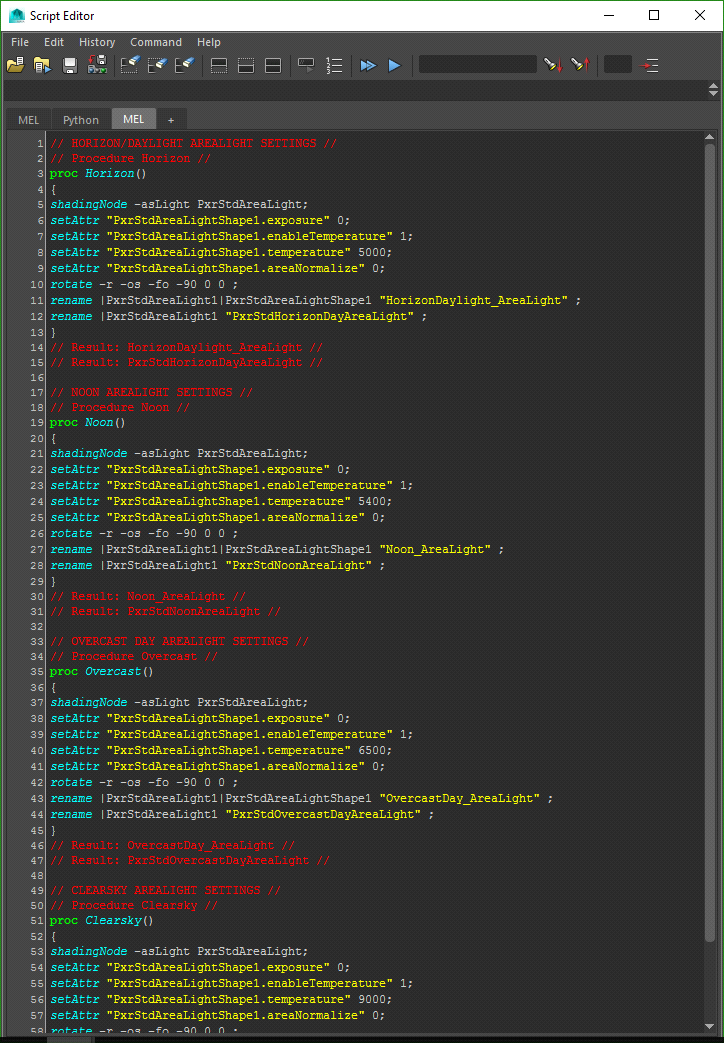
Im now done with the Echo all commands and I made sure to turn it off. With this code now I copied it 4 times and changed the color temp, procedure name and also node names to the corresponding Lights. Horizon, Noon, Overcast, Clearsky. The final procedures are shown below.
That is the procedures done. Once i got an idea of the language i was manually writing lines for the exposure and rename, i kept echo commands on while i did it just to double check the line of code was correct but thats how i was teaching myself at the time. When it came to making the GUI i was stumped but was able to find a good site to reference and assist me, here is the link below.
STEP 2: The Graphics User Interface
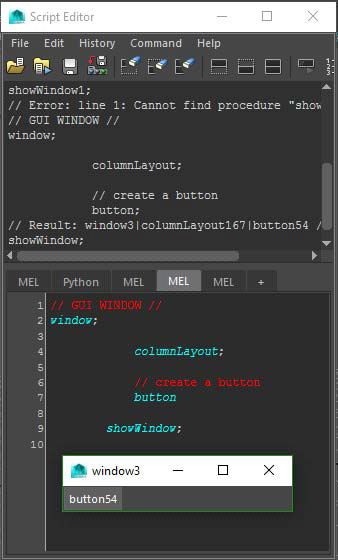
I learned how to make a simple quick User Interface that the program can use which simply involved buttons. I did a quick check to see if the buttons appear and so far so good. Now I need to give a label to the buttons and also add 4 more.

So now I added the new buttons and the labels to the code above is almost ready to be a usable tool I can use personally, but these buttons still need commands of the procedures that make the lights and now onto the final step.

So I have added seperators between buttons to make the GUI a little neater. Also I have added the commands to the buttons to use the procedures made beforehand. Now is the time to see if this works
STEP 3: Debugging

So after pressing each button they are all being created and named correctly for my liking. If there are any changes you would like to make this would be the stage where you do it. I changed the overcasts colour temperature later on since both Heath and Daryl suggest it was too similar to clearsky light so i toned it down to get the final render result.
And thats how i made my first Quick colour Temp tool as my first MEL script for a school assessment


Comments